- Start your virtual machine
- Go to Redmine's root folder
- Copy the plugin archive in the root Redmine folder
- Install required gems
- Migrate plugin's tables
- Restart Bitnami Redmine app
Start your virtual machine
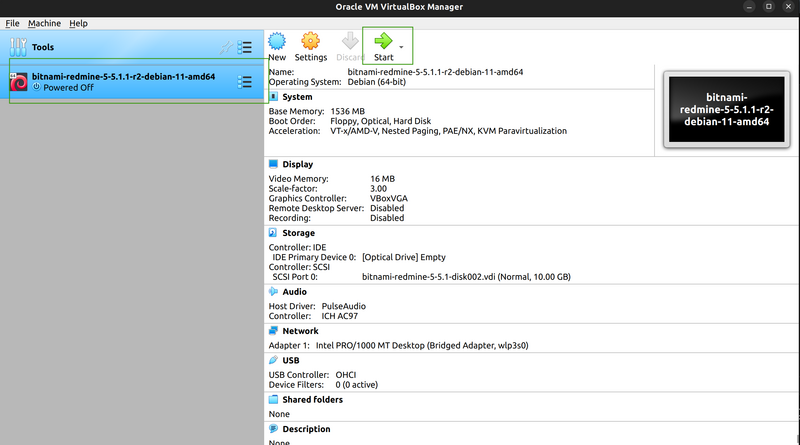
Firstly, we start our virtual machine via the Start button.
Note: Please keep in mind that in our example we use the VirtualBox, however you could choose any other similar software.

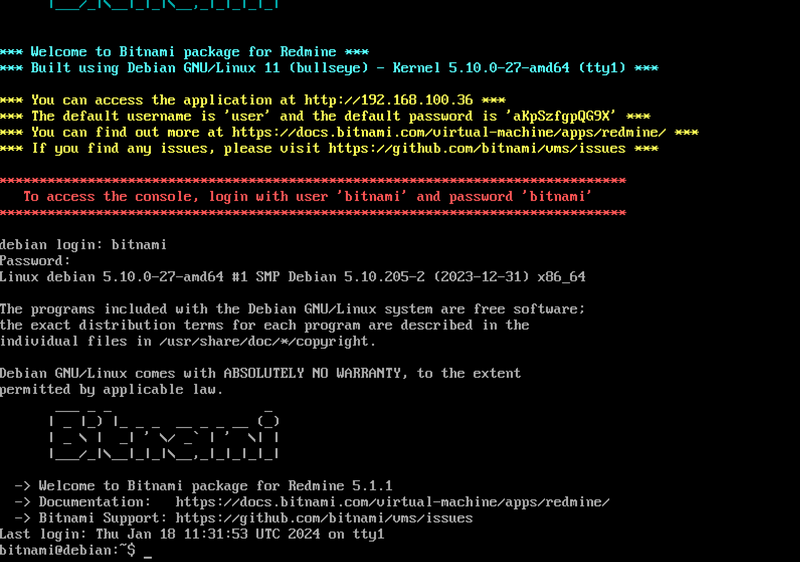
Then, please use your credentials to log in to your Redmine back-end.

Afterward, follow these steps.
Copy the plugin archive in the root Redmine folder
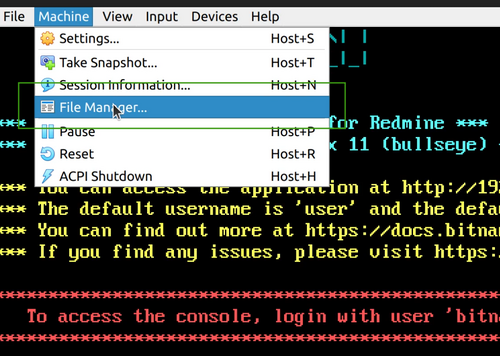
In our case, we are using the File manager option for sharing files between the host machine (your computer) and the guest machine (your virtual Bitnami Redmine). It is located in the started Bitnami Redmine window top Machine menu, then File manager.

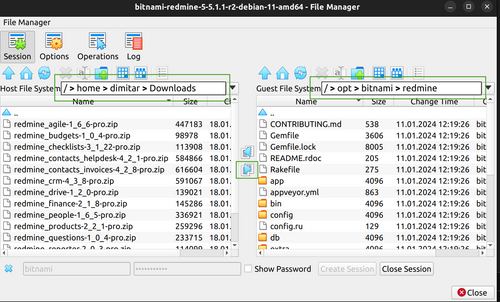
Here, you need to log-in into your guest machine (on the right). The host machine is automatically appearing as available (the file system on the left).
So, once you log-in, then navigate your host machine to the directory where your plugin is located and then copy it with the blue arrow in the middle of the screen to the /opt/bitnami/redmine directory on the right.

Then in your command line execute commands:
cp redmine_favorite_projects-x_x_x-pro.zip plugins/
cd plugins
unzip redmine_favorite_projects-x_x_x-pro.zip
Install required gems
Now you have to return to the core Redmine folder for the next steps.cd /opt/bitnami/redmine bundle install --without development test --no-deployment

