Steps
Firstly, you have to download the very latest Bitnami Stack Redmine from the official site of Bitnami.

The installer file looks like this afterward.
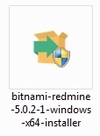
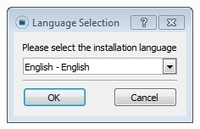
When you double-click on the installer, the first window that pops up is the one for choosing the correct language for you.
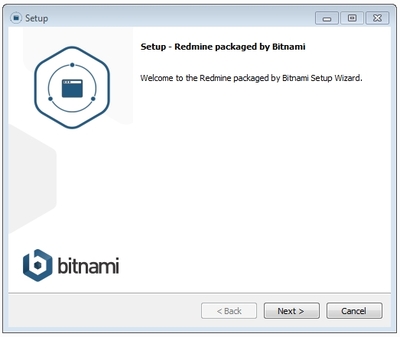
Afterward, the main setup window comes. It is not much for choosing from here, just click on the Next button to continue further.
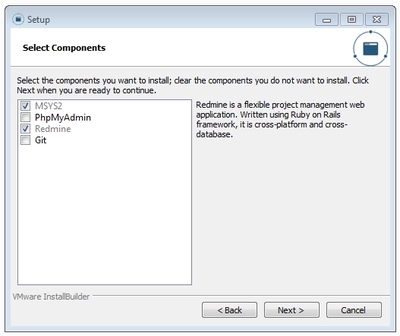
- Redmine itself
- MSYS2
If you wish, you could also add PHPMyAdmin or Git. Depends on your choice and needs.
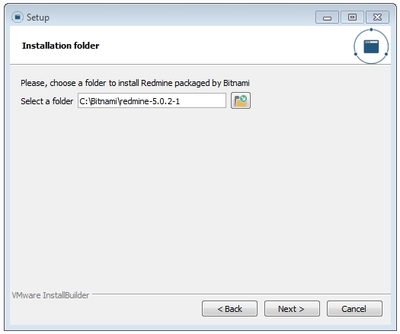
Ok, now please select the directory where you would like your Bitnami Redmine to be installed. We put it into the default directory that the installer suggests.
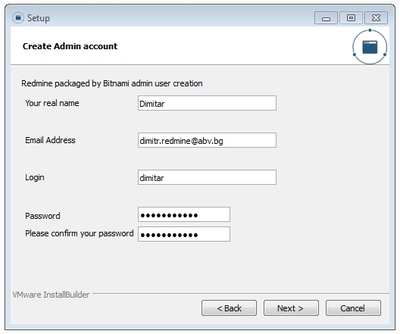
In this window, you have to create your administrator account. It is required and needed to be set. Otherwise, there will be no chance to manage your Redmine. There should be at least 1 administrator. :)
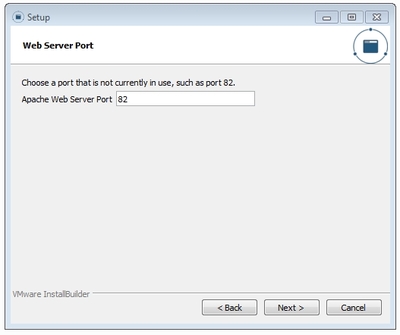
Select a port where Redmine will be available. It suggests you a free port. We choose it.
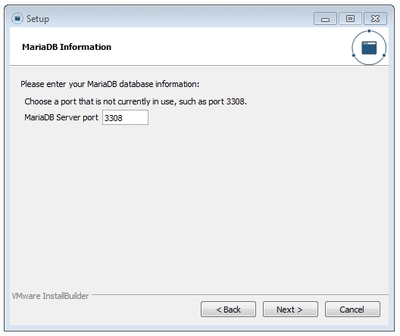
In this step you have to choose the database port, it again suggests you a free one, so please pick it.
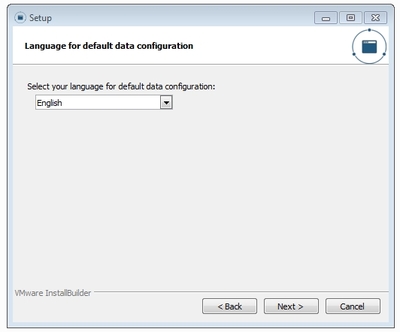
And now you have to put the appropriate language for you for the default data configuration (it is a different thing from the language change at the beginning of the guide).
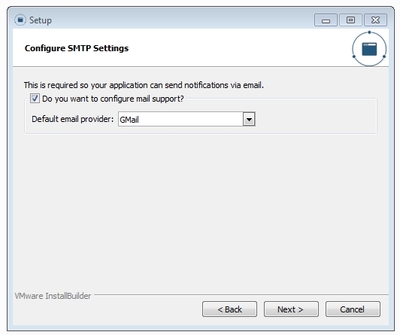
This setting that follows is about email configuration in relation to the core Redmine feature of email notifications. The step could be skipped and configured later but in our example here we will fill it.
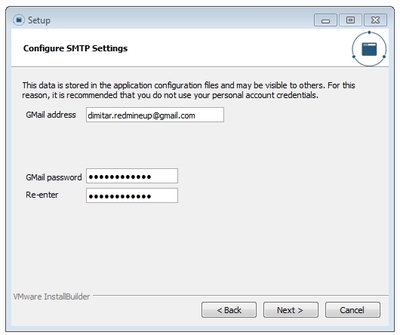
Here is the actual step of filling in the credentials of your email account that will be used for Redmine SMTP configuration.
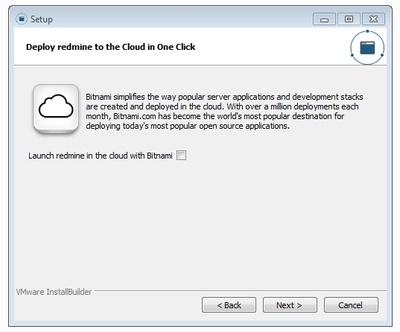
Now there is a cloud connection option. We will skip it for now.
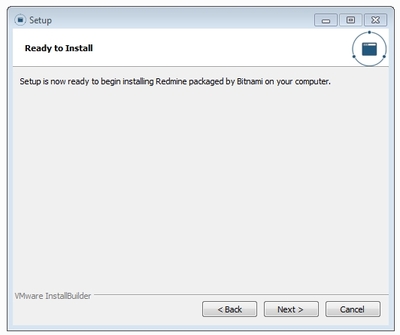
There is a message that all settings are now finished so you could either proceed further with the installation process or you could click on the Back button if you have missed some settings or done a mistake with some configurations. We are done good, so let's proceed further.
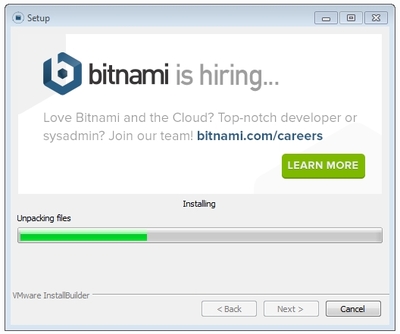
Now the actual installation starts. There is a progress bar so you could see when it will finish. You have to be patient here because it is the most time-consuming part.
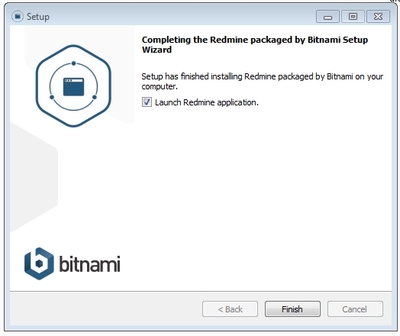
A window comes that says that the installation is completed. We have an option to directly start Redmine. In our example we keep it checked, so let's start and see our fresh new, and clean Redmine.
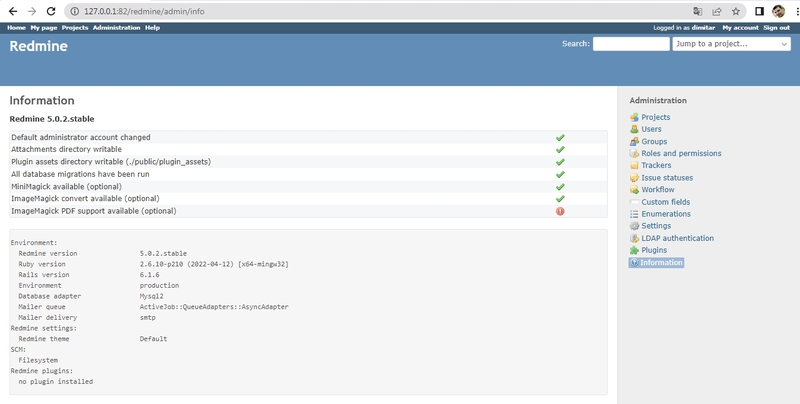
And here it is. The system information of our new Redmine. No plugins installed yet as it is only a Redmine installation guide. For more information about plugin installation, please check this guide.
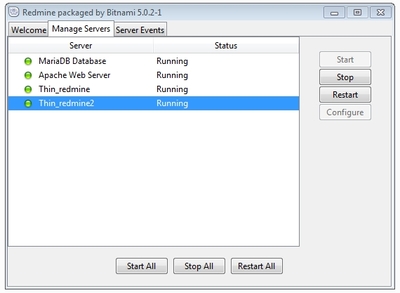
To start or stop Redmine, you have to go to the Redmine folder itself and find the manager-windows file. You have to double-click on it.

And then a new window will pop up for you. Please select the Manage servers tab. Please press the Start All button in case you would like to start your Redmine or the Stop All button if you like to stop Redmine. As it is seen in the screenshot below all is running - the web server as well as the database. So Redmine is up and working.
