Description of the problem
Please go to your contacts' list (no matter which list style is selected) and try to export the list as a CSV file at the bottom of the page.
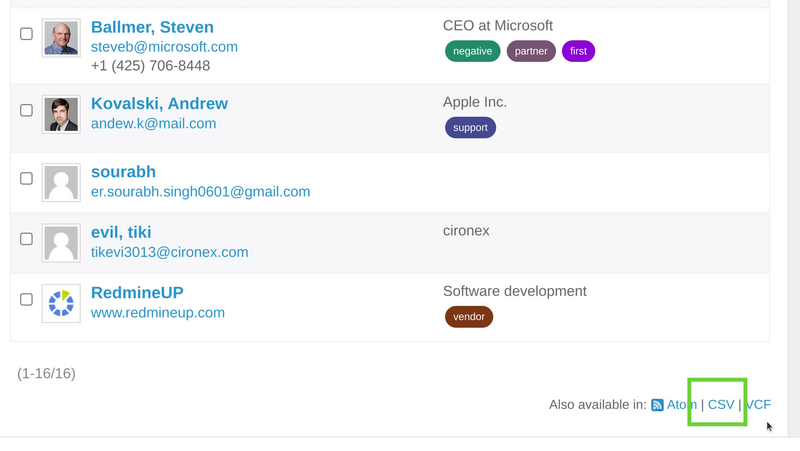
Then only a limited number of columns are available. In the example below they are 4 columns only.
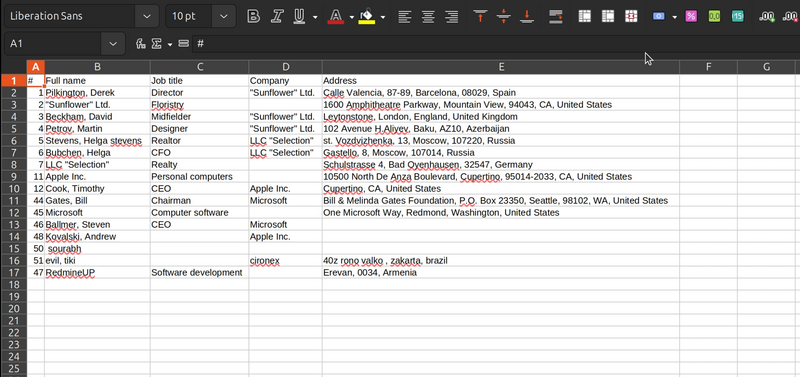
The question is how to change the number of these columns in the CSV file and add more columns?
Solution
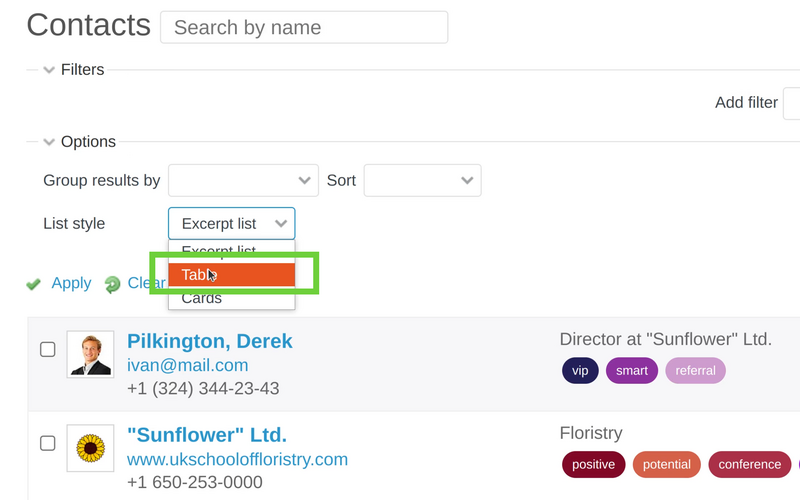
The key is to go to the contacts' list and select the Table view list style.
Now you have to expand the options and move the needed columns from the Available columns on the left to the Selected columns on the right.
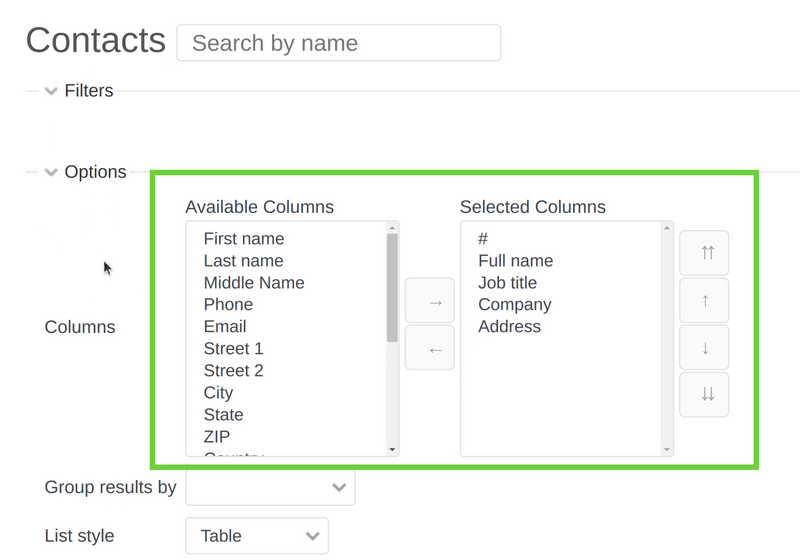
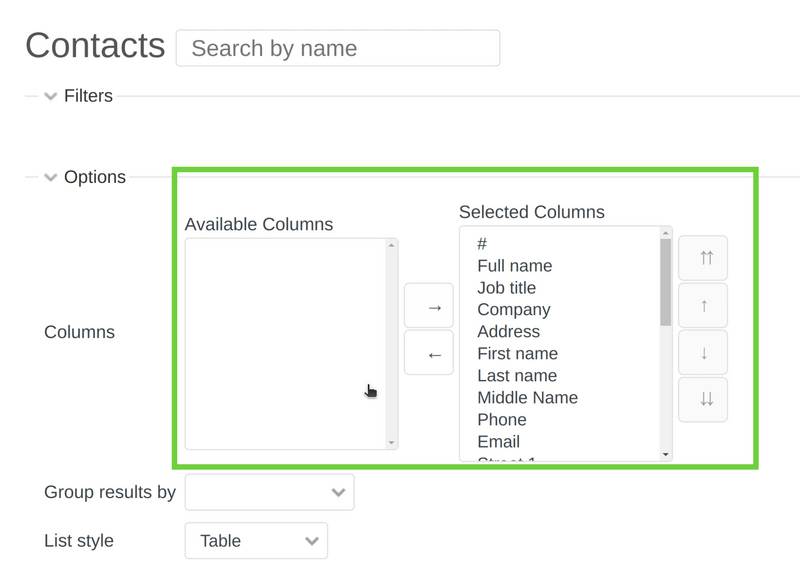
You can even move all the columns if you wish.
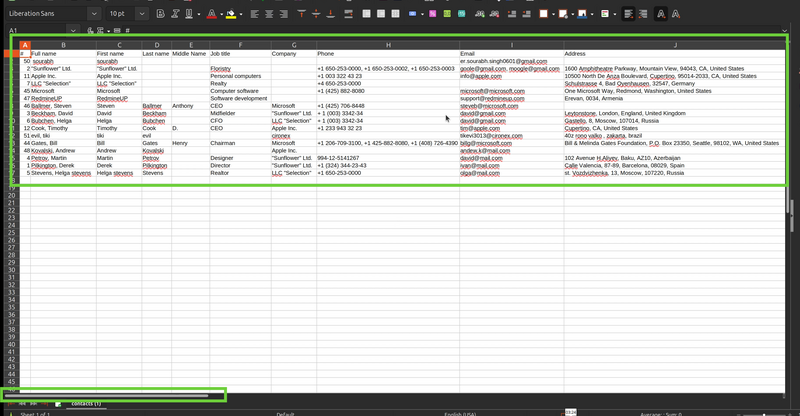
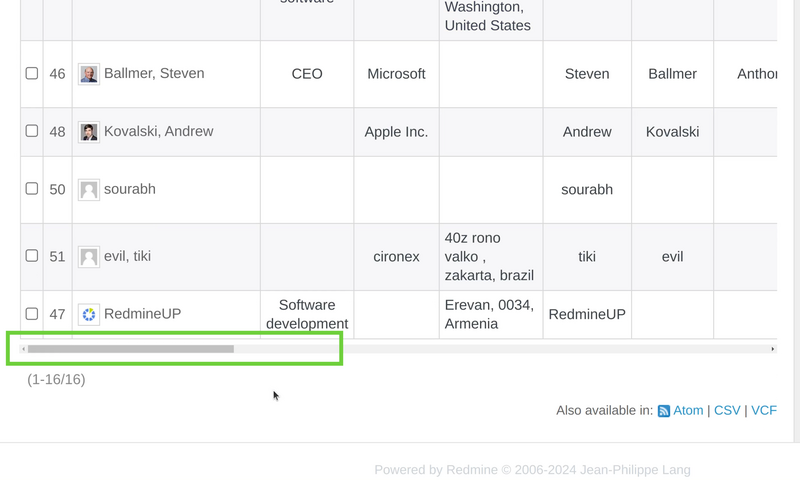
As there will be a lot of columns, then a scroll will appear at the bottom of the list, so you ca scroll right and left to see all of them.
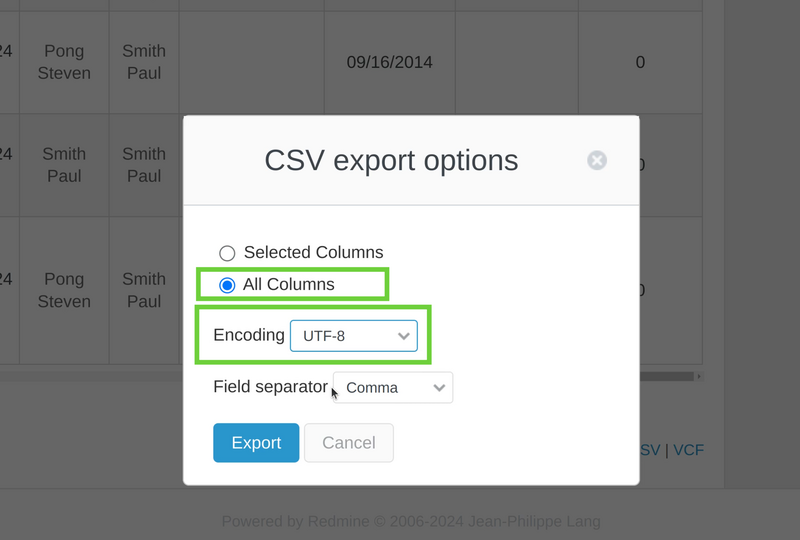
Finally, please click on the CSV button at the bottom to export the file. Here, make sure to select All columns option as well as encoding to be UTF-8.
As a result, we see that all columns are now available in the exported CSV file of the contacts' list. In the same way, you can check all of them via the scroll and the bottom of your program that you use for viewing CSV files because there are a lot of columns indeed and the monitor is not enough to view them all.
