This guide will teach you printing embedded pictures from the description of the Redmine issues.
Firstly, you have to go to Administration - Plugins - Reporter. Here, you have to create a new template and make sure to copy-paste the below source code into the Content field:
<div class="description">
<style>
    img {
        max-width: 500px;
    }
</style>
{{ issue.description | with_formatting | parse_inline_attachments: issue }}
</div>
It should look more or less like this:

And then it should appear successfully into the reporter list of templates.

Afterward, please go to a project and then edit an existing issue or create a new one. You should add an embedded picture.
Note: Please keep in mind that the embedded picture (the link of it) should be placed between exclamation marks. In our example (that could be checked in the video demonstration as well), we use the drag-and-drop way, so it automatically adds the exclamation marks.
We see that when we drag and drop the picture, a plus icon appears showing that it is ready to be dropped into the description field of the issue.

It should look like this after that.
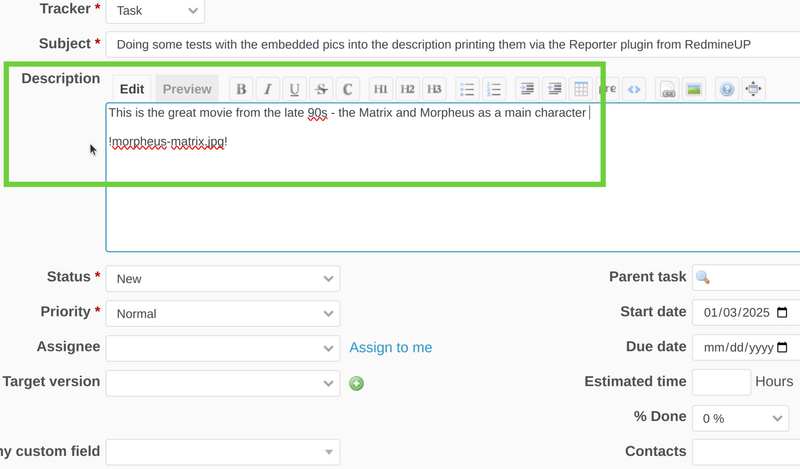
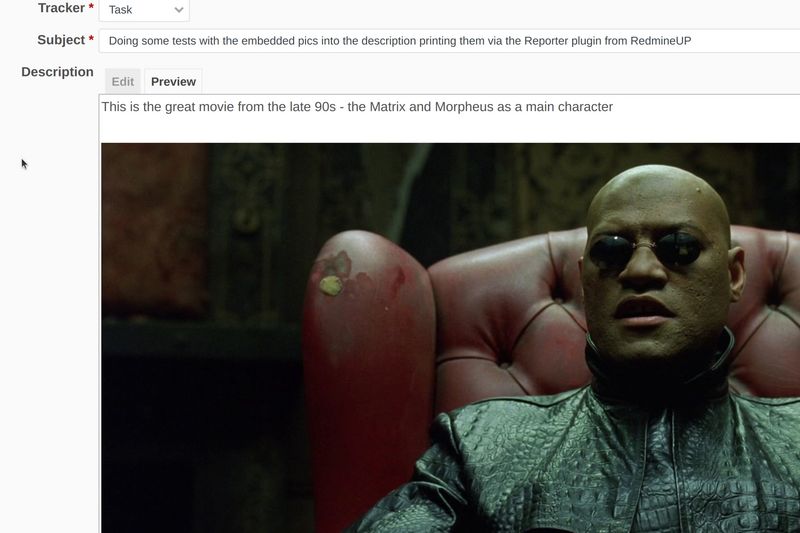
You could double-check if everything is fine when you just click on the Preview button.
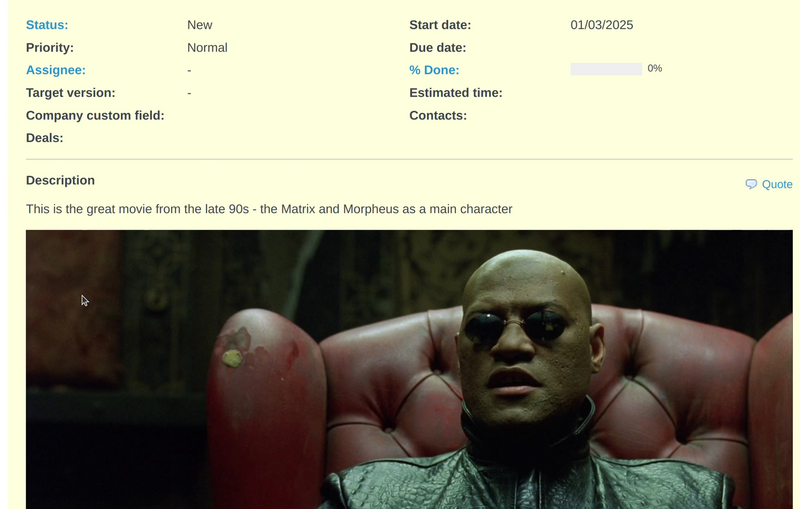
And also, when you save the issue, all should be fine too and the image should be displayed correctly.
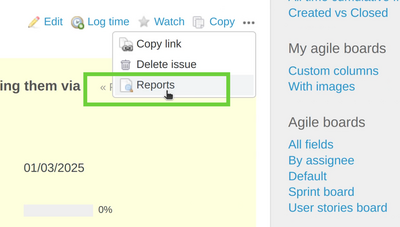
Now please click onto the 3 dots from the top right corner of the issue and select Reports option from the drop-down menu.
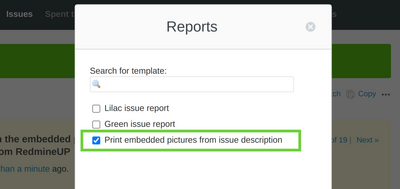
Then we just select our report from the list and click Preview.
So our report is now ready and successfully displaying the image.
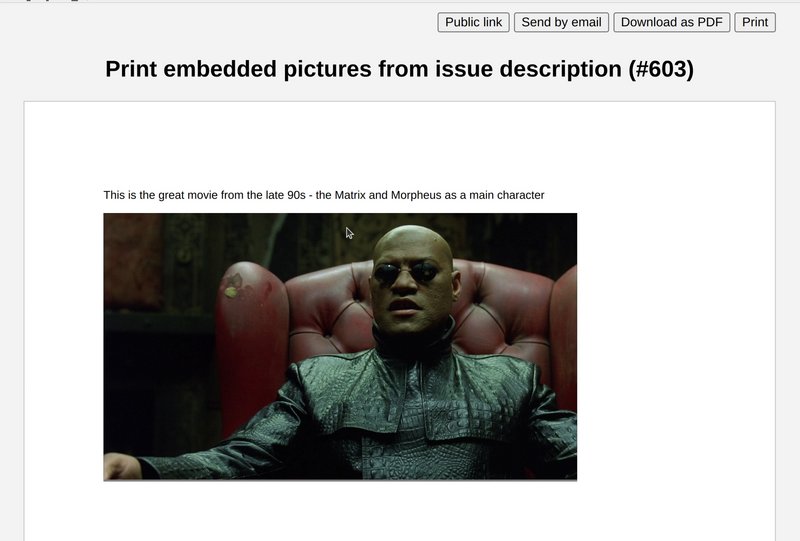
You can now use the options of the report (download PDF, send by email, print, public link) and they all will also show the image correctly.