From Helpdesk 4.2.3, a new feature was added - Google OAuth (based on the Google changes and security improvements). This guide will teach you step-by-step how to configure it on your Helpdesk plugin.
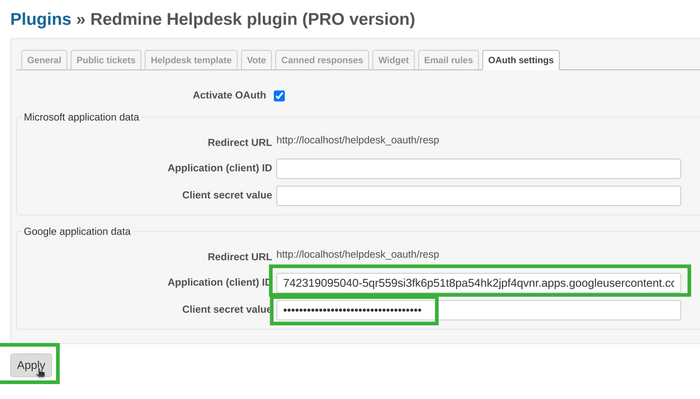
The very first step that you have to do is going to Administration - Helpdesk - OAuth settings tab. Here just enable the OAuth feature and save the changes.

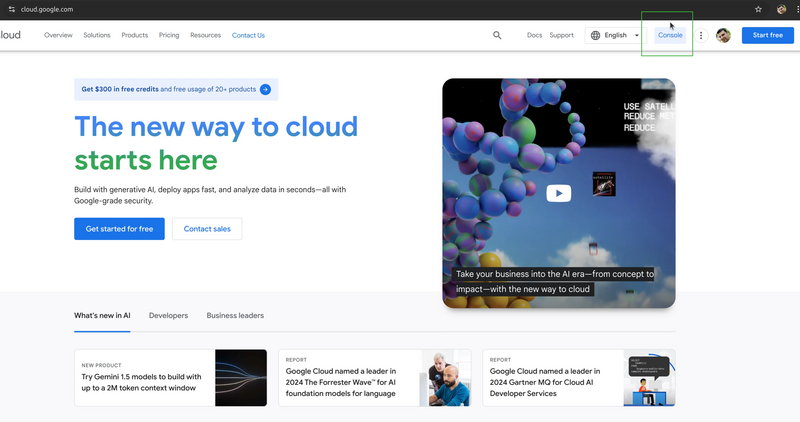
Afterward, please open site cloud.google.com and then click on Console at the top right corner.
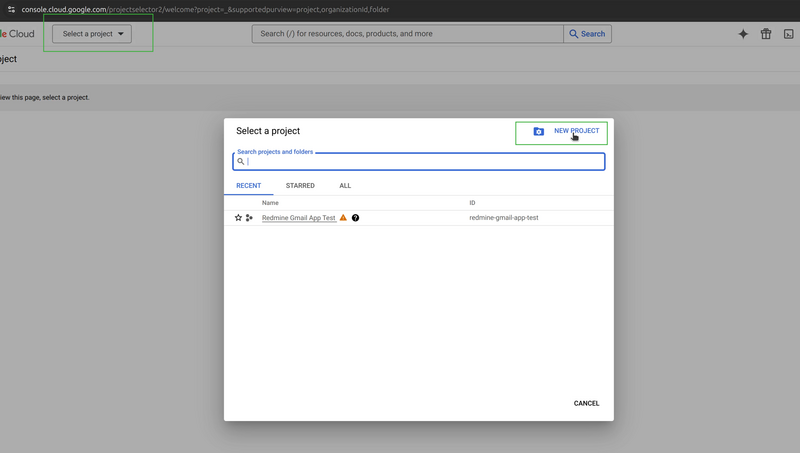
Then click on the Select a project drop-down menu at the top left corner and then New project.
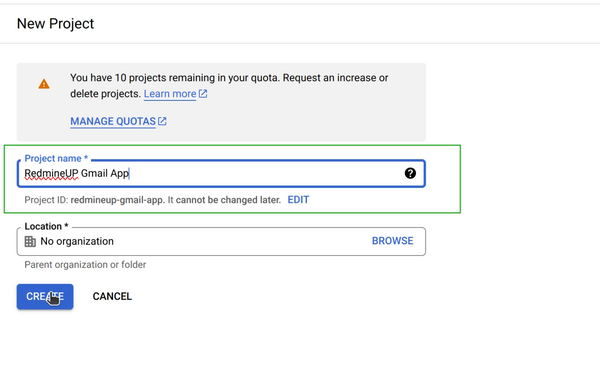
On Project name fill the one that is going to fit your specific case, in our example we just use some testing name.
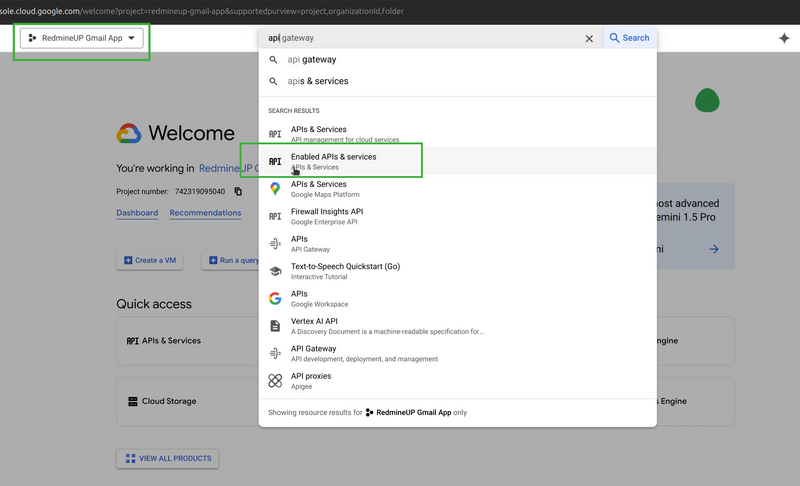
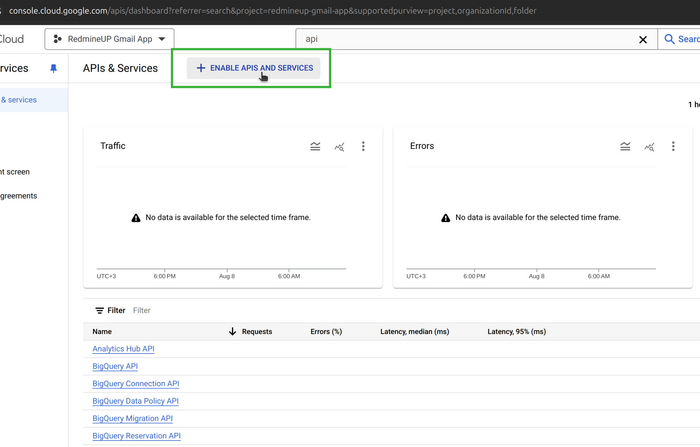
Now, we just created our new project. Please click on the central search field and write "api". Click on the Enabled APIs & Services that appears from the drop-down menu.
A new page will open. Now click on + ENABLE APIS AND SERVICES.
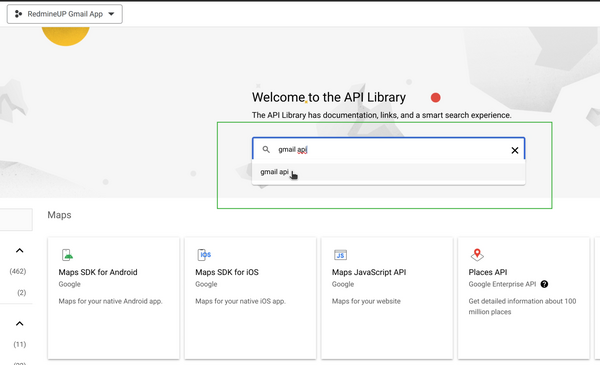
Then again a new page will come - welcome to the API library. Here on the search field type "gmail api".
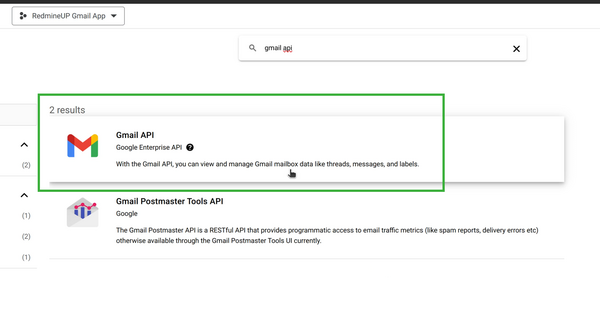
Afterward click on Gmail API tab.
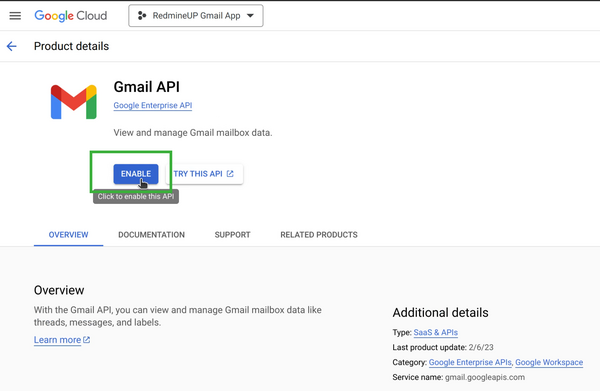
Now enable the Gmail API via the blue button.
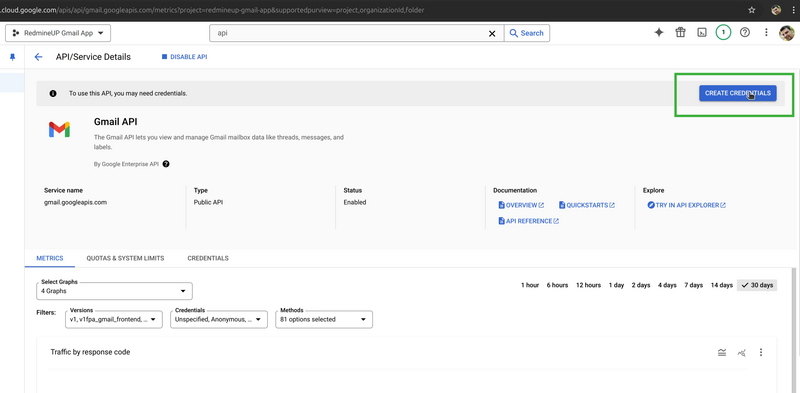
On the newly opened page, go on the right and click on CREATE CREDENTIALS blue button.
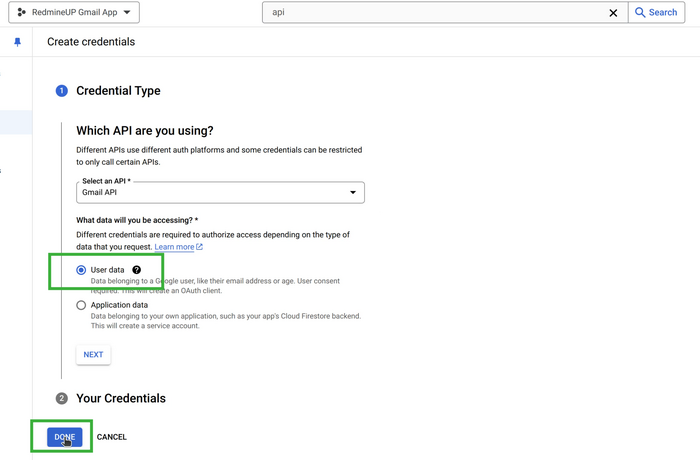
Select User data and then save the changes with the Done button.
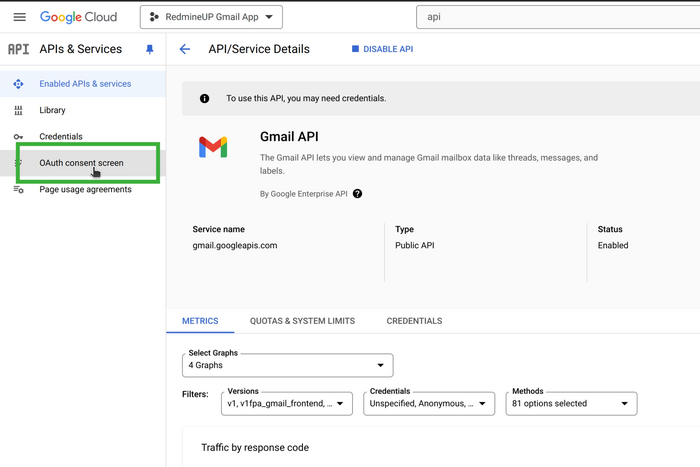
On the left sidebar click on the OAuth consent screen.
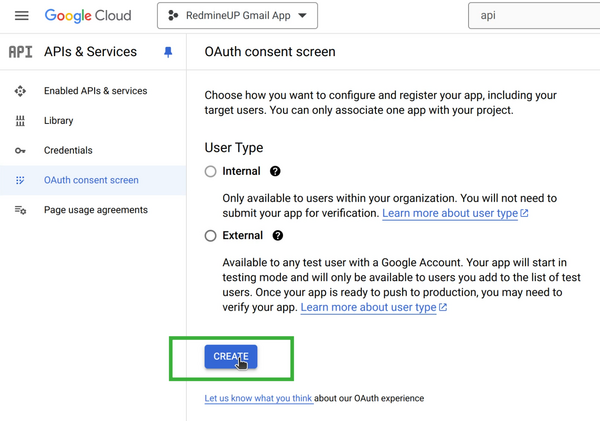
Here just click on the blue Create button without selecting any of the two user types.
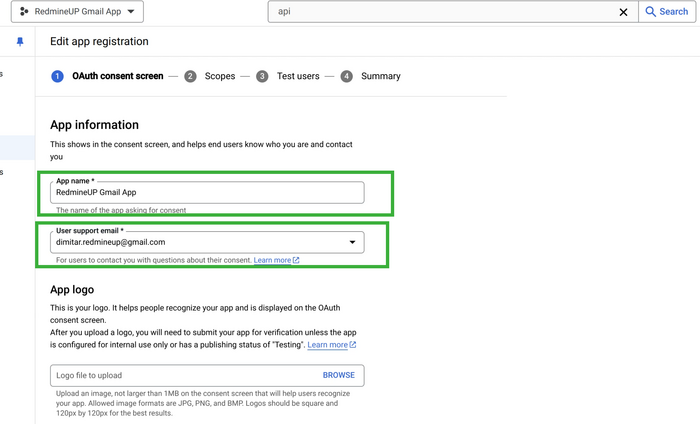
Now you have to insert your App name and Gmail account email address.
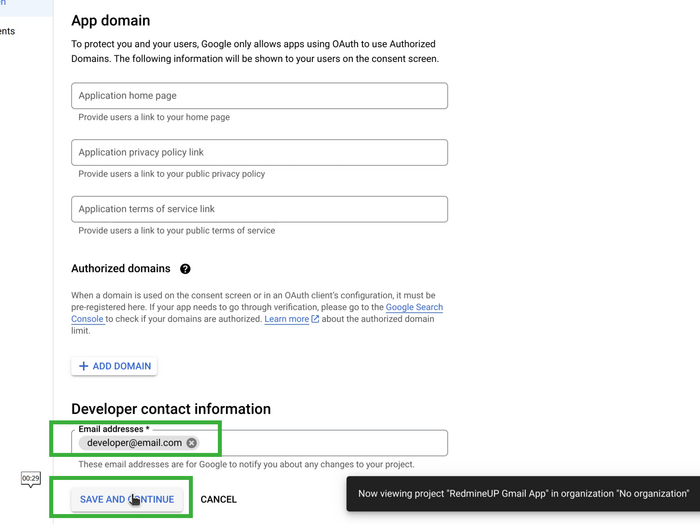
Scroll down on the same page, insert the email address of a developer and then hit the button SAVE AND CONTINUE.
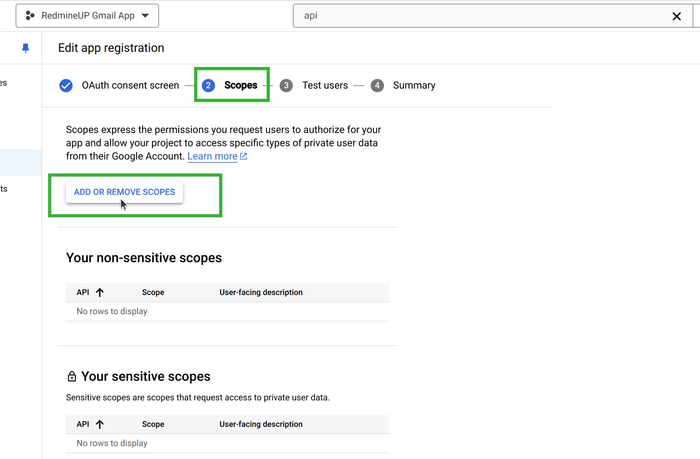
We continue with the second step here - Scopes. Just click on ADD OR REMOVE SCOPES.
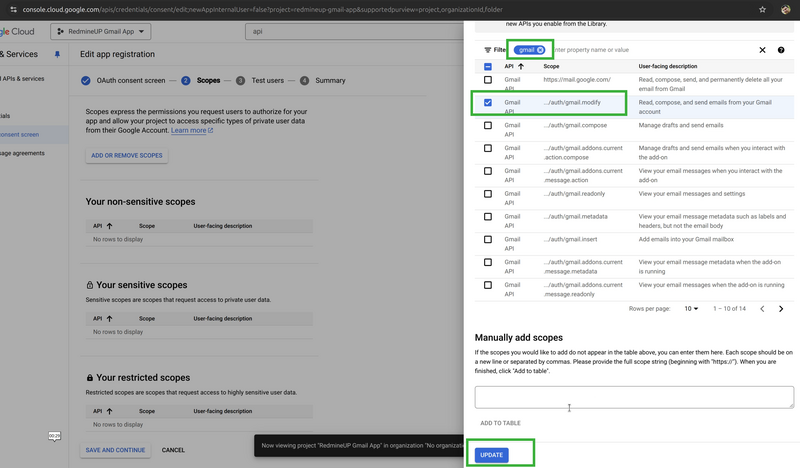
A pop-up window will come on the right. Type "gmail" and click enter.
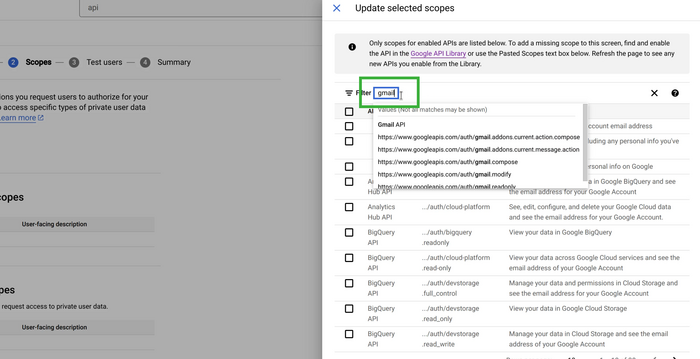
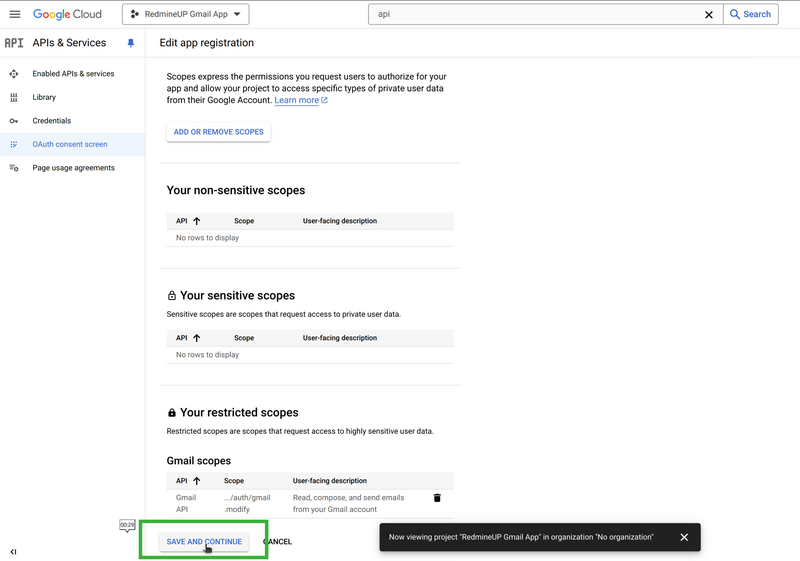
Then apply (enable) the option Gmail API .../auth/gmail.modify, scroll down and save the changes with the UPDATE blue button.
The pop-up window will disappear. Now scroll down and hit SAVE AND CONTINUE.
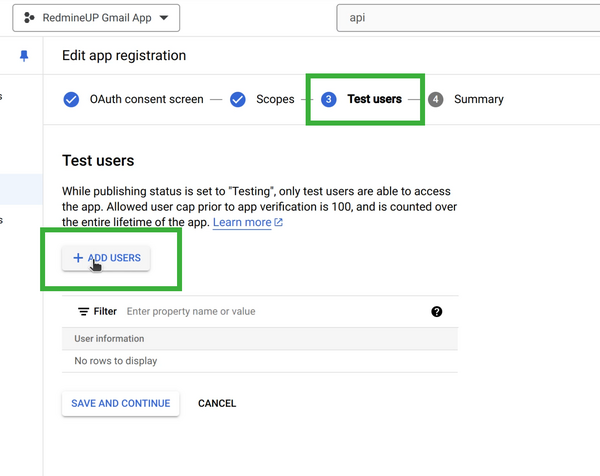
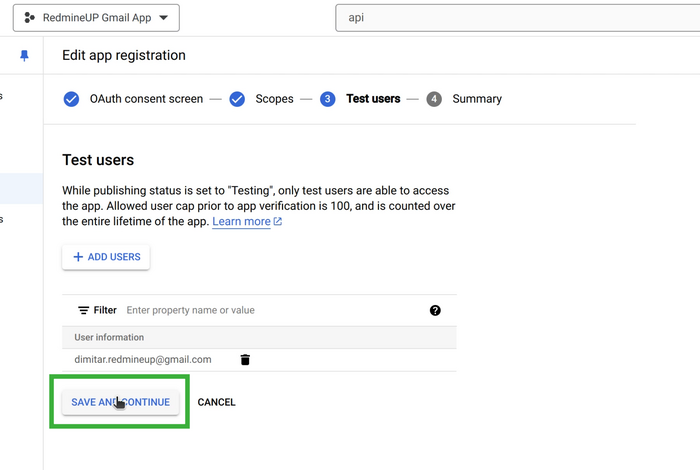
We are at the third step now. Click on the + ADD USERS button.
Once again a pop-up menu will come on the right. Type the email address of your Gmail account (the same email address that you inserted earlier).
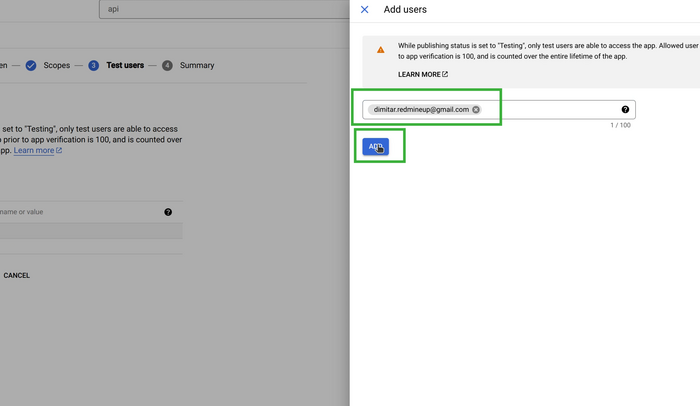
When the pop-up window on the right disappears, hit on the SAVE AND CONTINUE button.
You just come to the fourth step - Summary.
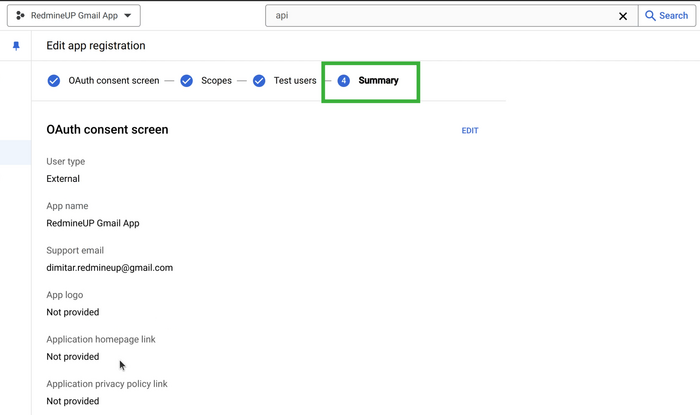
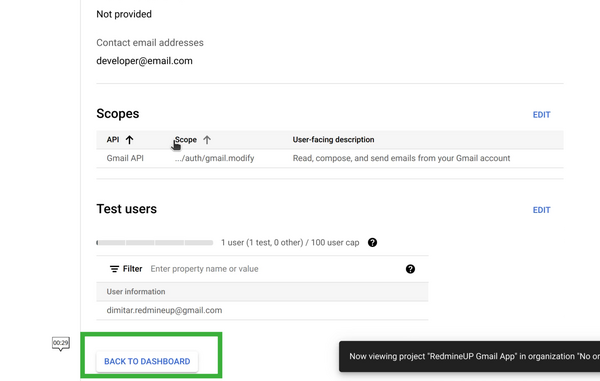
As the name suggests, here you do nothing, just one quick view the summary information of the changes that we all made by now, scroll down and click on the BACK TO DASHBOARD.
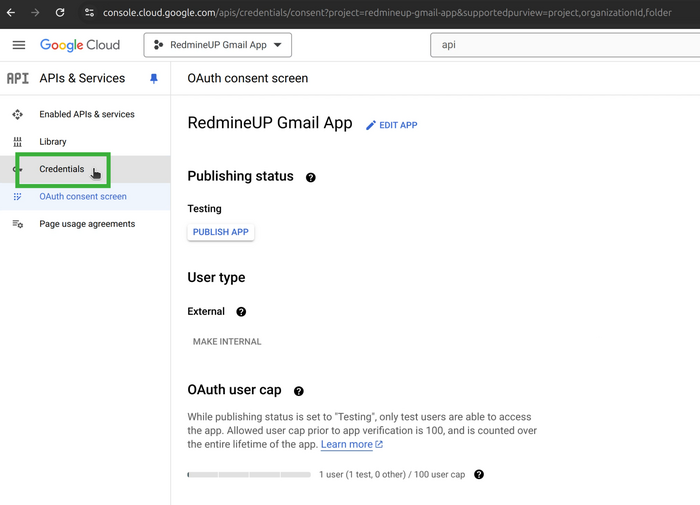
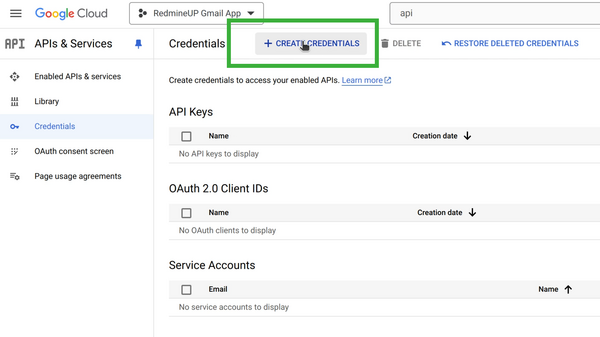
Please move your eyes to the left side of your monitor and click on Credentials.
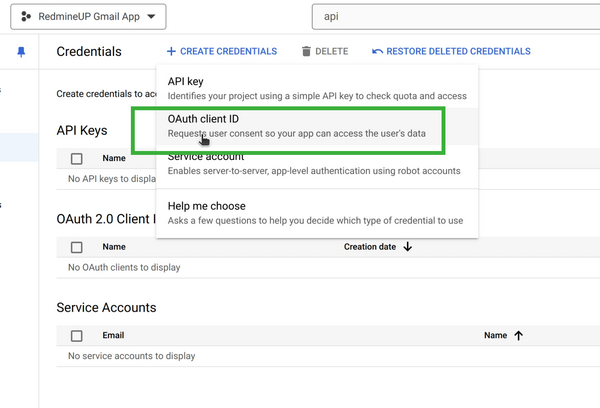
Now click on the + CREATE CREDENTIALS button.
Then click on the OAuth client ID.
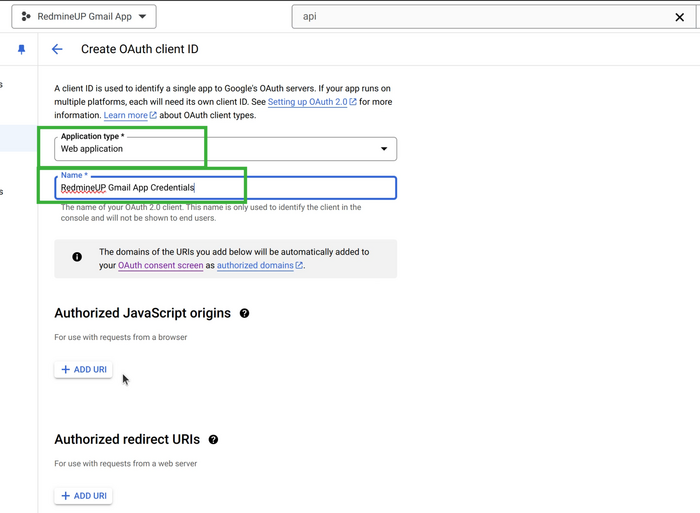
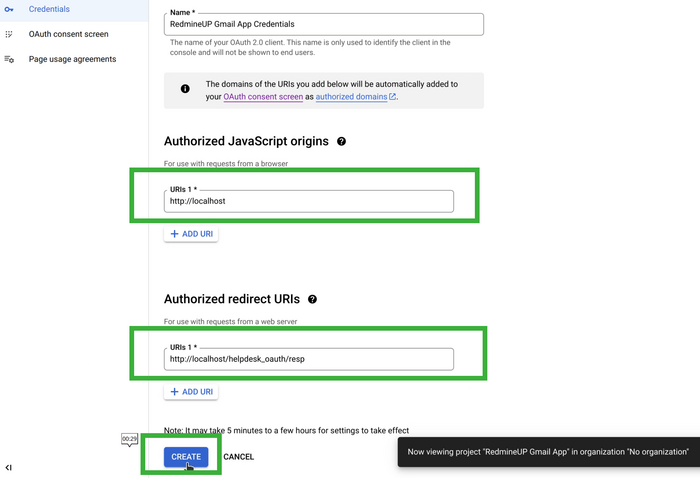
Select the Application type from the drop-down menu to be Web application value as Redmine itself is exactly such type.
Also, write the name of the credentials.
Return back to the Helpdesk OAuth Google application data and copy the Redirect URL.
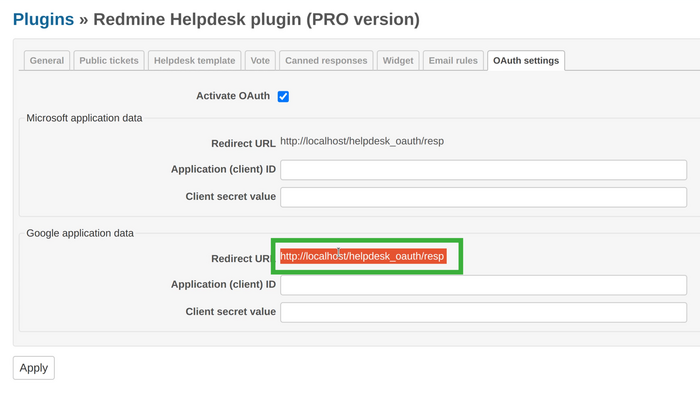
In the Authorized JavaScript origins field insert the first part of the URL and in the Authorized redirect URIs insert the full URL.
Afterward save the changes with the blue CREATE button.
Now you got the Client ID and Client secret. Copy them one-by-one via the square buttons on the right of each.
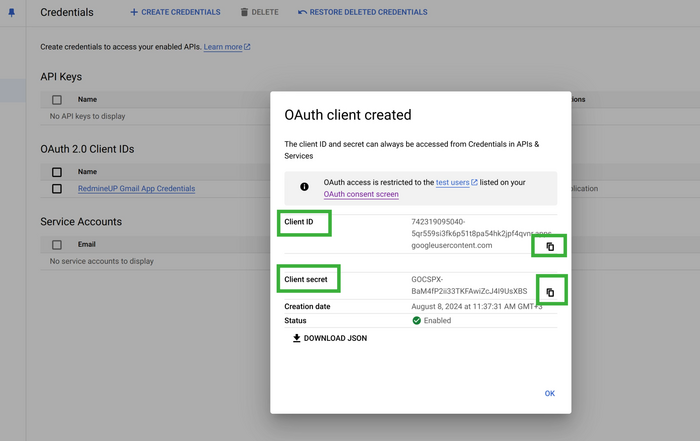
Paste the credentials in the appropriate fields of the Helpdesk OAuth configuration page and apply the changes via the button.
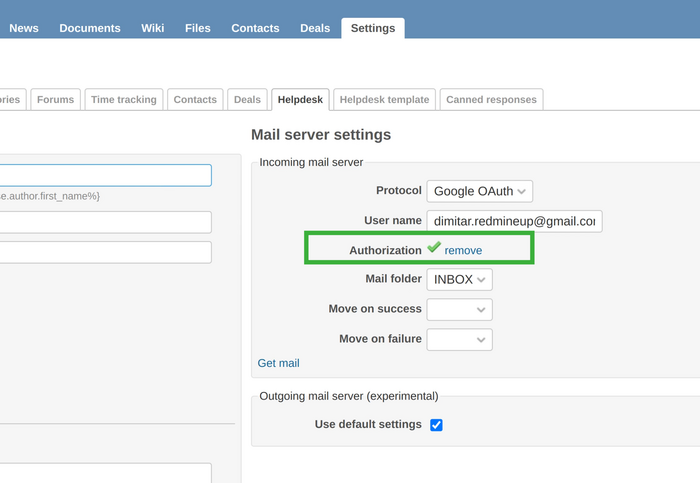
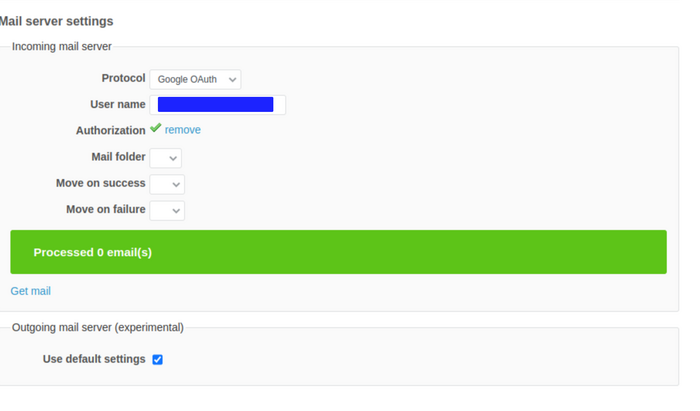
Now, please go to your Helpdesk project in Redmine and in the settings go to the Mail server settings and Incoming mail server in particular. For the Protocol, select value Google OAuth. And for User name just type the Gmail account email address that you use.
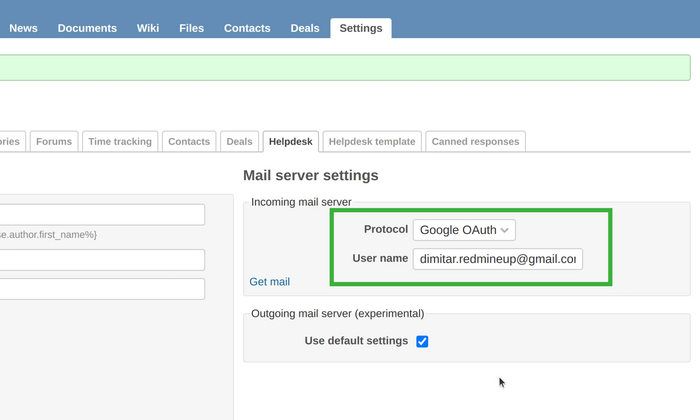
After you save the changes on that page, an Authorize button automatically will appear there.
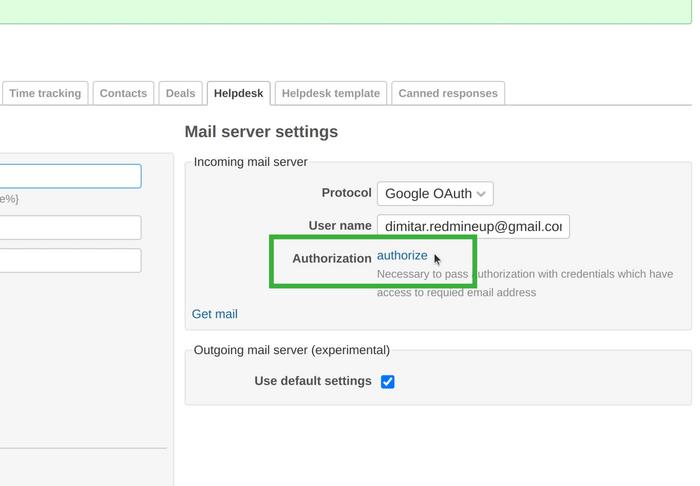
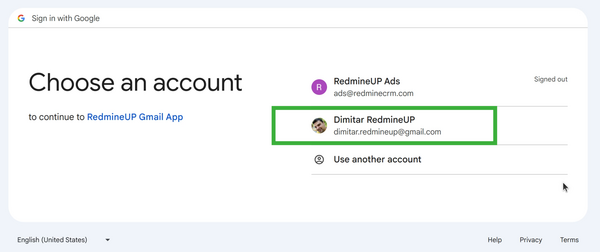
Just click on it. You will be redirected to the google site to choose an account. Pick the correct one.
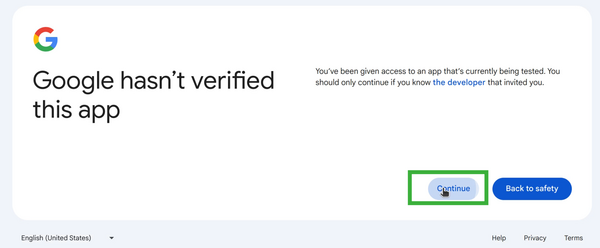
One more warning (about verification) window will come, just click Continue on it.
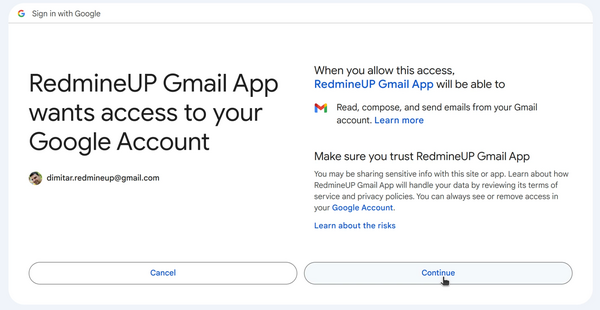
One final confirmation window will appear for accessing.
As a result you get a successful green sign for the authentication in the Helpdesk project settings.
Important note! If you get an error during the authentication, please check the video demonstration to this article (it is located at the end of the written guide, i.e. at the bottom of the page). It contains troubleshooting steps in relation to this problem.
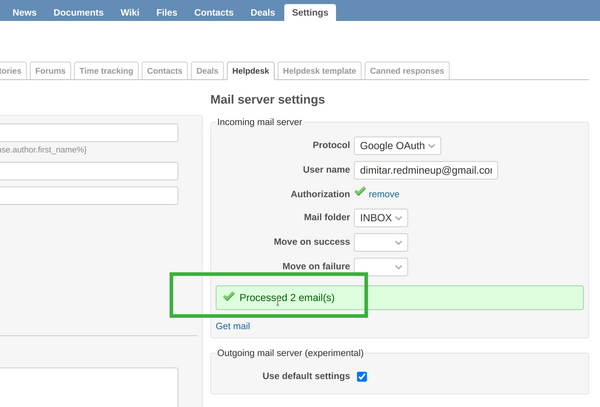
Okay, so we finish our configuration. All is fine. But let's just do a quick test to see if all runs fine. We send one testing email to the Helpdesk Gmail account.

We go to our Helpdesk and receive the emails (either manually or automatically, it is up to you).
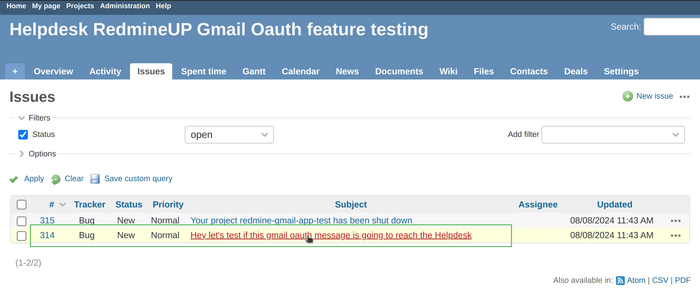
So, yeah, we got our ticket.
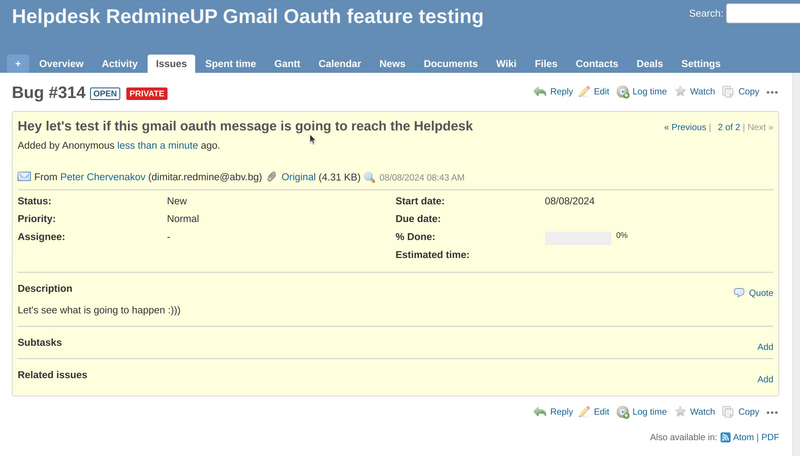
We open it as well to check it.
Troubleshooting
- Zero emails fetched as well as folders are missing. Please see this screenshot reference to make the situation clear.
Solution: Reboot the server and afterward everything will be fine.