Votes are essential tools for your work with customers. They allow you to know whether or not your customers are fully satisfied with your support service, as well as what they like or dislike and why. All of this information makes your Helpdesk service even more flexible and efficient.
- 1. Turn on the voting feature
- 2. How to set emoticons instead of text?
- 3. Emoticons instead of text video demonstration
- 4. Effectiveness
- 5. Troubleshooting
1. Turn on the voting feature
Go to Administration - Helpdesk and click on the Vote tab.
You will then see two settings:- Allow vote
- Allow comment vote.

Click on the “Allow vote” checkbox and save the changes. This setting will give access to the voting form.
To add a voting string in every Helpdesk email just use new macros for the Email footer template.

{%ticket.voting%}- voting form link{%ticket.voting.good%}- "Good" vote link{%ticket.voting.okay%}- "Okay" vote link{%ticket.voting.bad%}- "Not good" vote link
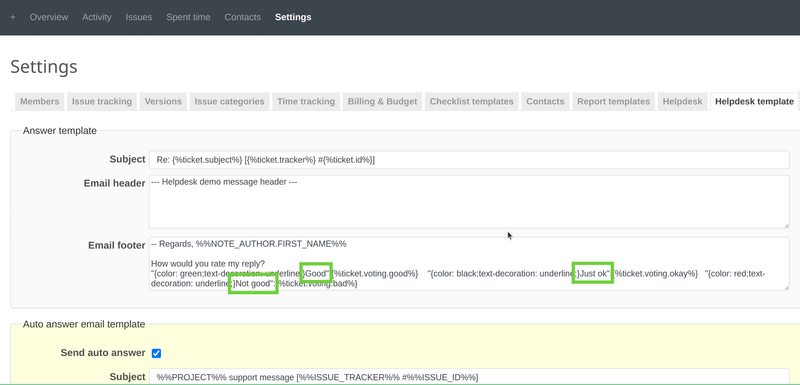
How would you rate my reply?
"{color: green;text-decoration: underline;}Good":{%ticket.voting.good%}    "{color: black;text-decoration: underline;}Just ok":{%ticket.voting.okay%}   "{color: red;text-decoration: underline;}Not good":{%ticket.voting.bad%}

If your customer clicks on one of these ratings, they will see a new special page on your site where they can check one of the ratings and save their vote. If you choose “Allow comment vote”, then your customer will see a special text field on the same page to leave their comment about your service.

When this type of voting occurs, as a site administrator, you will receive an email with the result of the voting and the comment, if the customer included that. You will also be able to see the same text in the issue log.
2. How to set emoticons instead of text?
If you would like the client to click directly on emoticons instead of text (some clients prefer this way and feel it more friendly), you need to just follow these simple steps.
You have to go again to project settings - Helpdesk template - email footer. Here please just replace the text with the emoticon.
So, after the replacement, it should look like this.
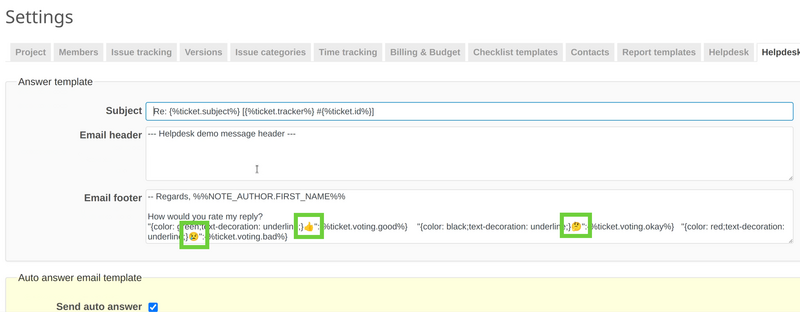
Note: Please keep in mind that the emoticons in the above pictures are just examples, you can set any other emoticons that you wish.
Afterward, it will look like this in the Helpdesk reply.
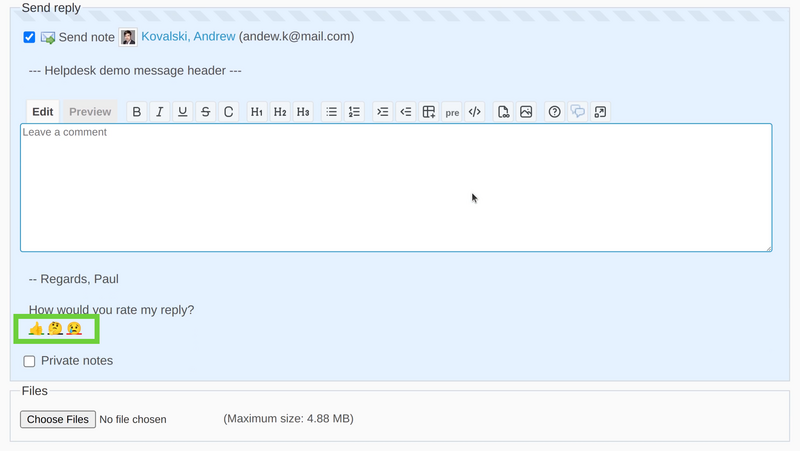
And the client will be able to click directly on the emoticons for voting.
3. Emoticons instead of text video demonstration
4. Effectiveness
You can easily check how effective your Helpdesk service is and how your customers rate it
To do this, go to your issues list and add a new filter - Vote. In this filter, you may choose one or more options that will be shown. This allows you to easily determine how many customers are fully satisfied and how many of them think that your service is poor. You may also add two new columns to the issues table to see the result of the voting for every special ticket, as well as the attached comments.

We hope that you utilize this powerful metric to make your Helpdesk and support service even better for your customers and your future success.
5. Troubleshooting
If you have problems like returning an error message or even a Redmine error when you click on the Helpdesk votes, then please check this troubleshooting article.